How to Make Jam and Preserve Fruit and Vegetables


Your crops are a success, there’s an abundance of fruit and veg and you’ve got enough food to feed half the town. But what will you do with so much of it? To prevent your crops – not forgetting your time and effort – from going to waste, learn how to preserve fruit and vegetables. There are all sorts of ways to do this, and they’re a lot easier than you might think. We’ve detailed four of the best ways to preserve your crops so you can enjoy your fruit and veg well into the winter.
How to Make Jam


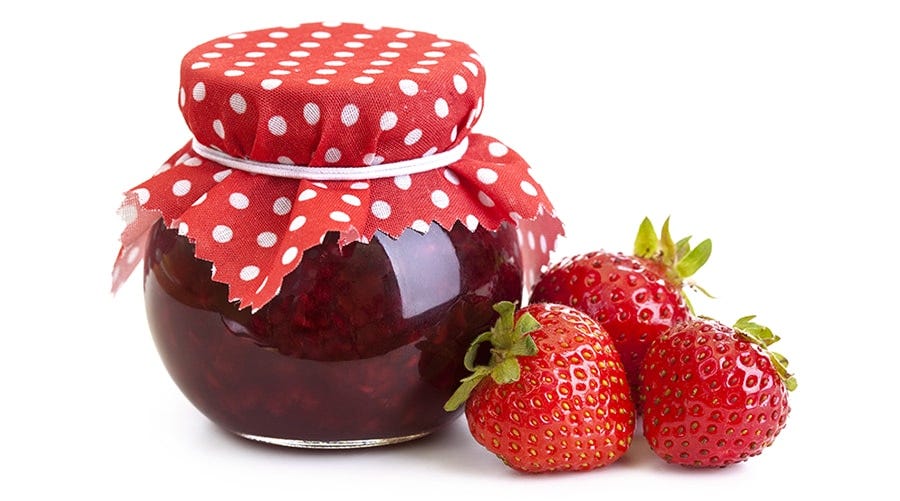
Simple to make, jam is a great way to preserve an abundance of fruit. Before you start though, make sure you sterilise your jars to avoid any bacteria causing your jam to go mouldy. A dishwasher with a hot cycle will do the trick, as will an oven: place them on a baking tray in the oven at 100°C for half an hour until they’re dry. If the jars have rubber seals, put them in boiling water. When you add your jam, the jars should still be hot to avoid any bacteria creeping in as they cool down, so time your sterilising well!
To make the jam, wash your fruit and mush it up a bit in a large pan to release the natural pectin, which helps the jam to thicken. Then add in the sugar (a ‘high pectin’ sugar if your fruit is naturally low in pectin, as most fruits are, like blackberries, strawberries and blueberries) and mix it all together. Mash it until smooth if you want jam with no lumps.
Next, put your pan on a medium to high heat and leave it to simmer for around five minutes, until it reaches 105°C. Once it’s at the right temperature, skim off any excess foam and, while your jars are still hot from being freshly sterilised, add the jam to the jars. Then screw on the lid, label them with the date and store them in a cool, dry place, where they’ll be ready to enjoy whenever you want within the next 18 months!
How to Pickle Veg


First of all, chop up your veg and divide them out into glass jars. When placing them into the jars, try and get as many pieces in as possible without mashing them together. Once you’ve done that, add your chosen flavourings – herbs, spices, garlic or chillies for example.
Then it’s time to make the brine. Place a pan on a high heat and mix equal parts of water and vinegar (any will do, but white or cider vinegar work well), along with 1.5 teaspoons of sea salt per pint-sized jar (you can use table salt if that’s all you have but the additives in it might make the brine cloudy). You can also add a little sugar if you want to sweeten it a touch. Bring the mixture to the boil, let it boil for two minutes and then remove it from the heat.
Next, pour the brine into the jars until the veg is completely covered, filling them to within half an inch of the rim. Then seal them with a lid, leave them to cool and pop them in the fridge for at least 24 hours (or a week if you’ve pickled okra or turnips). The longer you leave them, the better the flavour will be.
How to Freeze Fruit and Veg


Fruit can be frozen straight away, but before you freeze your vegetables you'll need to blanch them. You can place your veg straight in the freezer without blanching, but it won't last as long because the enzymes can survive the low temperatures and continue the decaying process. Blanching kills the enzymes, so your frozen veg will be much better quality. Each vegetable differs slightly, but most need around two minutes in boiling hot water, so chop them up, place them in the hot water for the recommended time, and use a slotted spoon to transfer them to a bowl of iced water, which will prevent them from cooking further. Then squeeze out as much water as you can, or dab with a towel depending on the type of veg.
Once you've done that, line up all the pieces (fruit and/or blanched veg) in a single layer on a baking sheet – otherwise, they'll clump together and form one solid lump. When they're frozen, you can transfer them to a freezer bag. Remove as much air as possible to reduce freezer burn, and then label them with the date and use within three months (although they sometimes keep for longer). When you defrost them they can be a bit mushy, but the flavour's still all there and they’re great for soups, stews or smoothies.
Tip – If you're freezing herbs, chop them into ice cube trays and top them up with oil for a ready-made pot of flavour you can throw straight into the pot!
How to Dehydrate Fruit and Veg


The easiest way to dehydrate fruit and veg is to use an electric dehydrator. These handy appliances work by using a heating element and fan to circulate the air and expel moisture through the air vents. The food is heated ever so slightly – so it’s still suitable for raw vegans – over a relatively long period so as to ensure even drying (if it’s too fast the foods will end up with dry exteriors and moist interiors).
Dehydrators often feature multiple tiered trays so you can dehydrate more than one type of fruit or veg at once and get the job done quicker. All you need to do is lay them out on the trays and let the appliance work its magic.


