


How to Build a Wooden Shed: A Step-by-Step Guide

March 21, 2024
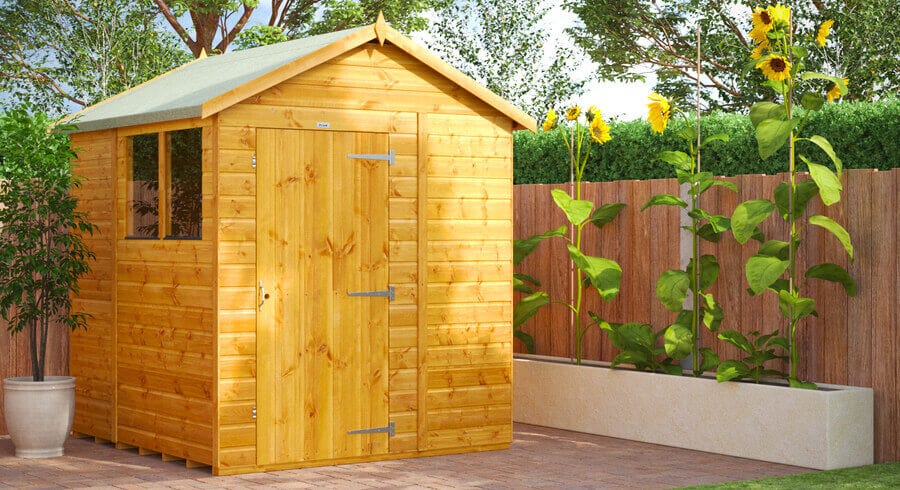
Building a shed can seem like a daunting task but with the right tools and know-how, it needn’t be such a big challenge.
In our guide we’ll show you how to build a shed that will last for years. We’ll use the example of a regular apex shed with double doors and fixed windows, but you can adapt this to different sheds. You can also watch the handy how-to video from our supplier Mercia, whose high-quality selection of sheds you’ll find on our website.
If you’re yet to buy your shed, have a read of our Shed buying guide: The difference between shiplap, tongue and groove, and overlap first to help you make a more informed decision.
Read on to find out about how to prepare the area before you start, what tools you need, and each step you need to take to create a perfectly assembled shed.
Prepare a Suitable Area for Your Shed
Before you start, choose the right spot for your shed. Make sure it’s:
- On firm, level ground
- An area that’s not likely to get waterlogged
- Somewhere that won’t overheat
- Accessible from all sides for easy maintenance
- Not underneath a tree to protect it from falling branches and any marks from decaying fallen leaves
Sheds require a stable foundation and need to stand on a timber, plastic, paved or concrete base. This will prevent any water from building up in the area and causing damage to your shed.
Tool Kit
Metal rule for cutting the roof felt to size
Pencil
Padlock for securing your shed when built
Remember to use safety equipment when necessary, like protective gloves.
Building a shed generally requires at least two people, so enlist the help of a friend or family member to prevent any accidents and get the job done well and effectively.
How to Build a Shed
Different sheds will have slightly different instructions on how to build them, so check your user manual for the exact instructions, and always follow the manufacturer’s advice.
Here’s how to build a wooden shed with an apex roof, double doors and windows in ten steps, along with a how-to video from one of our excellent shed suppliers, Mercia.
Step 1
Clear your base area of any foliage and debris and prepare a firm and level base.
Remove the transportation blocks on each panel with a hammer. Give them a hard knock rather than trying to pry them off as you might damage the frame.
Start by fitting the doors first so you can make sure they’re level. Lay the door gable flat on the ground and line the doors up flush with the frame. Drill screws into the hinges at the top, middle and bottom, where they line up with the framing nails. Pre-drill each screw hole to prevent the wood from splitting.

Step 2
Place the floor panel down on your base and make sure the bearers are flush with the edge. Begin the main building with the rear gable and one of the side panels to form an L-shaped joint.
Pre-drill all screw holes to prevent damage to the timber and then screw the panels together at the top, middle and bottom.

Step 3
Align the other side panel in the same way and secure with the screws recommended by the manufacturer.
Bring in the door gable and secure it in place on both sides into the side panels.

Step 4
When all the walls are up you can then start work on the roof.
Starting with the ridge bar, line an L bracket up with the end of the bar and pre-drill through each hole. Secure each L bracket onto the bar with screws and place it at the apex between the two gables, flush with the top of the framing, before screwing each bracket in.

Step 5
Place the roof panels on the ground and place an eaves frame under one edge of the long side to make it easier to secure the framing. Repeat this for all four eaves frames, making sure they are flush at the end and sides.
Secure the frame with screws through the board evenly along the panel. Slide the roof panel up on the gables to the apex and secure in place into the framing beneath. This will create an overhang for your roofing felt. Repeat on the other side.
Now the roof is on, secure the bottom panel framing down to the floor to prevent any movement.

Step 6
Roll your felt out on the ground to the length of your roof and, using a tape measure, cut two equal lengths with a utility knife, leaving a few extra inches on either end for overhang. You’ll need two equal lengths of felt as well as the capping felt.
Place the felt on the roof, leaving a 2 inch overhang on all sides. Tack the felt at the top two corners and then secure along the bottom edge, making sure the felt is pulled firmly to prevent wrinkles. Repeat for the other side of the roof and then roll out your capping felt. This should overlap the other two pieces and can be secured along the length of the roof on both sides with tacks.

Step 7
With the roof finished, move on to the trims. Align the corner trims over the side panel framing and secure at the top, middle and bottom with screws. Repeat for all four corners before moving on to the fascia boards.

Step 8
Fold the felt down so that it is sandwiched between the fascia board and the roof. Secure the fascia at each end and the middle, and repeat for all four fascias.
To install the finial, make sure to pre-drill the screw holes to prevent splitting, and position it over the fascia joint. Screw through into the roof framing behind and cut away any underhanging felt with a knife to neaten the roof.

Step 9
Place the plastic glazing strip onto the window lip. Position a piece of styrene in the frame and cover one edge with a framing piece. Secure with screws into the framing beneath.
Repeat this for the other window before securing the centre framing.

Step 10
Place door blocks on the top, middle and bottom of one door and affix with screws.
Attach a turn button onto the top and bottom blocks. The door strips should be placed across the door gap and secured at the top and bottom into the master door.
Secure a turn button to the gap between the door strips with a black screw.
Score around the edge of the window glazing both inside and out to peel away the protective plastic.

We’ll finish off our guide on how to build a shed with a little extra advice: treat your shed annually with a good quality timber preservative to protect it from weather damage. Treated well, it’ll last year after year.
Remember to secure your shed with the right equipment too, such as a padlock, battery-operated siren alarm system or even a smart alarm system to keep your valuables safe and give you peace of mind.


